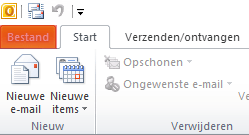
Stap 1
- Klik linksboven op ‘bestand‘.
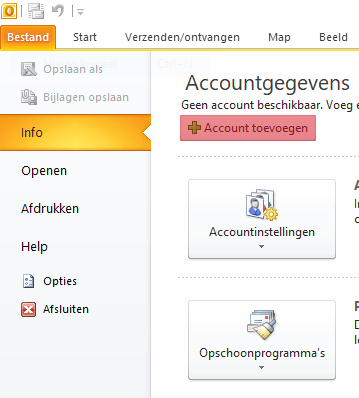
Stap 2
- Klik op ‘Account toevoegen‘.
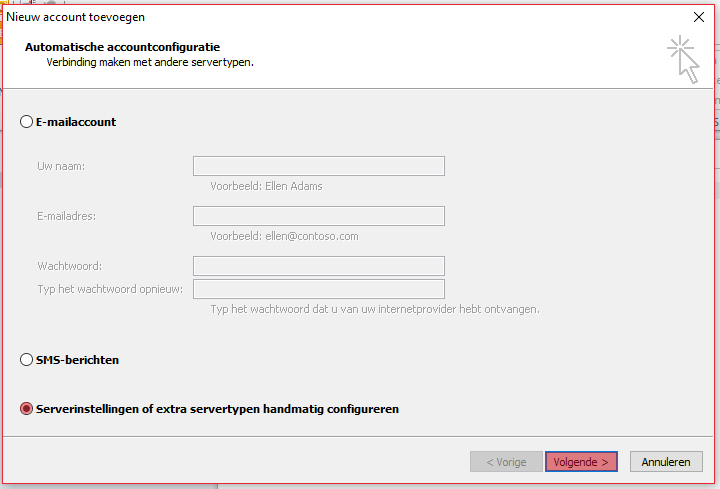
Stap 3
- Kies voor ‘Serverinstellingen of extra servertypen handmatig configureren‘.
- Klik op ‘Volgende‘.
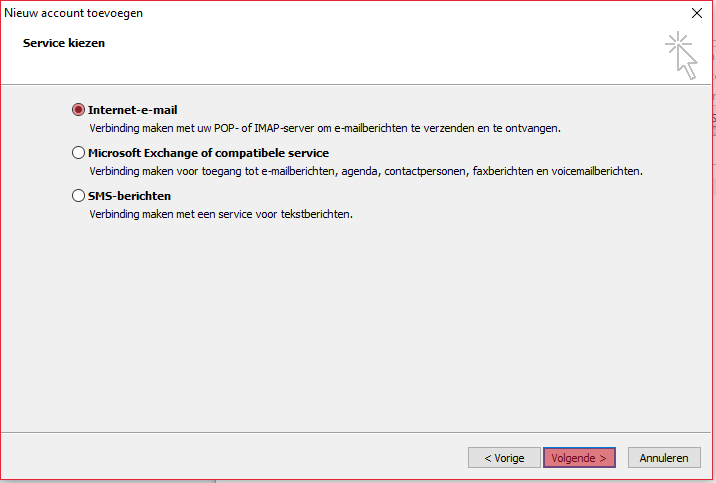
Stap 4
- Kies voor ‘Internet e-mail‘.
- Klik op ‘Volgende‘.
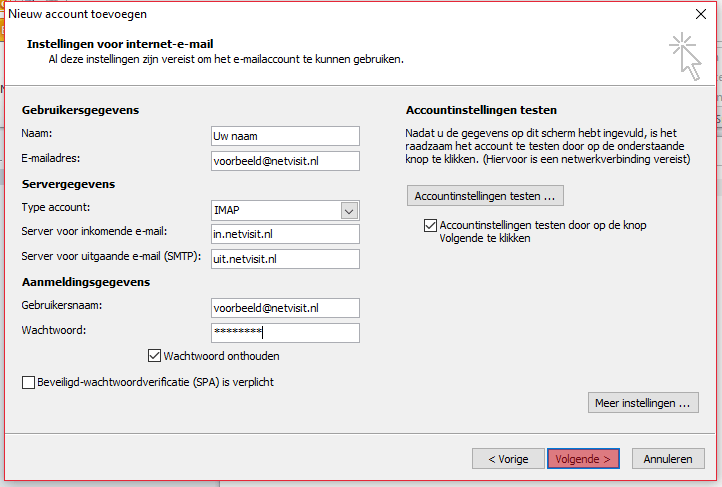
Stap 5
- Vul bij ‘Naam‘ uw naam in.
- Vul bij ‘E-mailadres‘ uw e-mailadres in
- Kies bij ‘Type account‘ voor ‘IMAP‘.
- Vul bij ‘Server voor inkomende e-mail’ in.netvisit.nl in.
- Vul bij ‘Server voor uitgaande e-mail (SMTP)’ uit.netvisit.nl in.
- Vul bij ‘Gebruikersnaam’ uw volledige e-mailadres in.
- Vul bij ‘Wachtwoord‘ uw wachtwoord in (hou rekening met hoofdlettergevoeligheid).
- Zorg dat ‘Wachtwoord onthouden‘ is aangevinkt.
- Kies voor ‘Volgende‘.
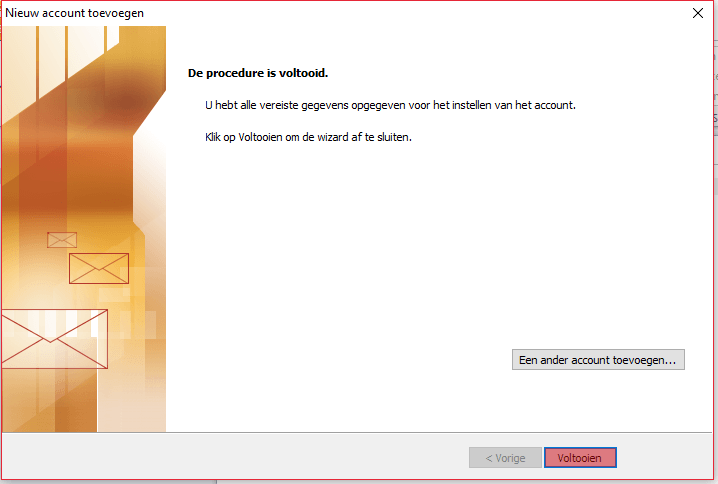
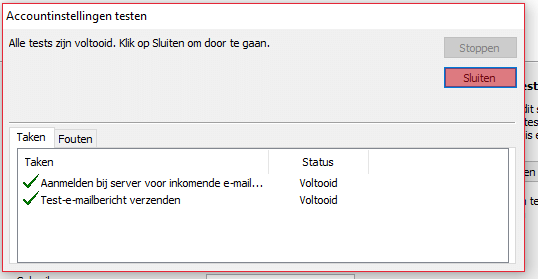
Stap 6
- Klik op ‘Sluiten‘.
Stap 7
- Klik op ‘Voltooien‘.
Uw e-mail is nu ingesteld.